Lager Lessons: On Attempting to Clone Pilsner Urquell
There’s a truism in brewing that pale lagers are the most difficult beers to brew. That’s because their flavors, body, and color are all exceptionally delicate. In other words, flaws have very little to hide behind. I don’t believe this, personally (hazies are harder for me), but there’s certainly something to it.
I’ve made my fair share of lagers (and pseudolagers) over the years. I’ve been happy with some of them and less happy with others. But all of them—every single one—lacked a certain je ne sais quoi when tasted alongside the commercial beers that inspired them. That’s not just a me problem, either: a lot of American craft lagers don’t stand up well to their German or Czech counterparts, either.
Lately I’ve been on a bit of a quest to find out why mine fall short, and reader, that quest has been fruitful. I’ve learned a ton over the past few months—mostly from Bryan Rabe over at The Modern Brewhouse—and this beautiful blonde beer is the result. At the very least, it’s the first major, positive step toward repeatable lager success.
What’s in it?
The Vitals
- Name: Foam Hands
- Category: BJCP Cat. 3B (Czech Premium Pale Lager)
- Batch size: 4.5 gallons
- Mash: Step-mashed (20 min @ 148F, 60min @ 162F, 10min @ 172F)
- Boil: 60 minutes
- Fermentation: Pitch @ 52F and raise over 7 days to 56F
- OG: 1.049
- FG: 1.013
- ABV: 4.7%
- IBU: 35
The Grain
- 6 lbs 1 oz Best Pilsen (85%)
- 11.4 oz Weyermann Munich I (10%)
- 5.7 oz Great Western Crystal 15L (5%)
The Hops
- 50g Saaz [4.4% AA] @ 55 min (21.4 IBU)
- 50g Saaz @ 20 min (13.3 IBU)
The Rest
- Yeast: 1.5L starter of Imperial Urkel (L28)
- Water: 3.7 gallons RO strike water + 2g CaCl2 & 1.1 mL lactic acid 88%; 2.3 gallons sparge water (RO, untreated)
- Presumed Water Profile: Ca2+ 24, Cl– 43 | pH 5.50
» BeerXML Download «
What I’ve learned about lager
I’m going to break this down into a few bullet points:
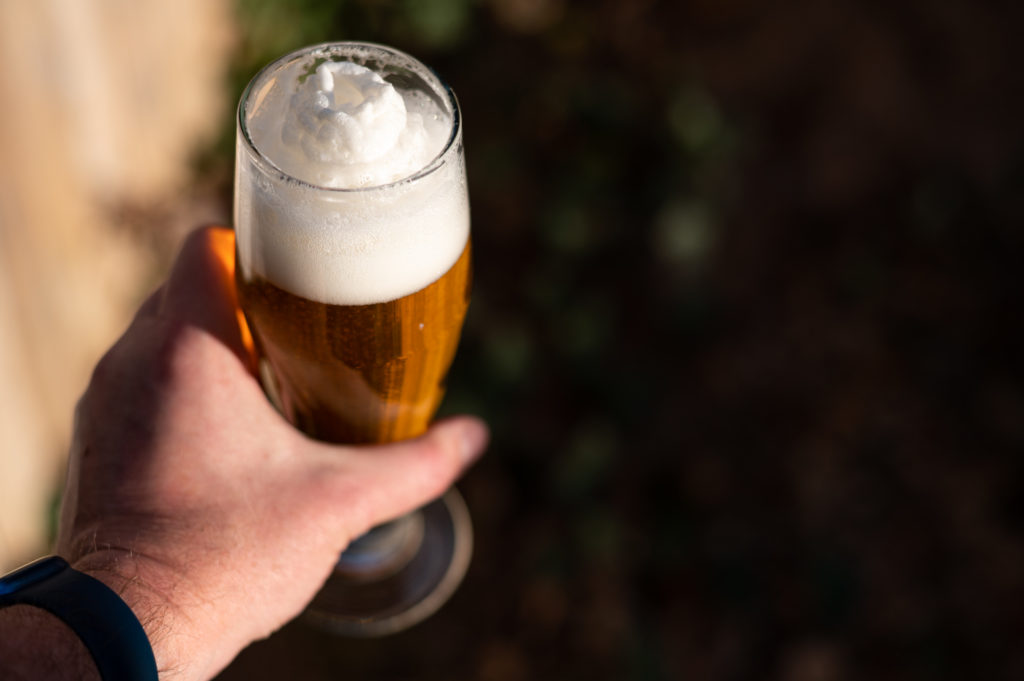
Foam is important. Here’s how to get it. You may have noticed that when you get a good pour of a German or Czech pils, it will have a head that lasts and lasts—and when it finally falls, it leaves beautiful lacing behind.
This is something a lot of homebrew beer and American craft beer lacks. As for why it’s important, well, a) it looks nice, b) it feels nice, and c) it helps deliver the best aroma out of the glass.
The good news is, it’s surprisingly easy to get great head (settle down now). Here’s how:
- Perform a step mash with a lengthy alpha rest. Mashing in the alpha amylase temperature range (ideally around 163F) will create foam-positive dextrins that promote long-lasting head and lacing.
- Ferment under pressure. I do this in a corny keg with a spunding valve (specifically, the KegLand BlowTie). Despite what some people will tell you, pressure fermentation isn’t only useful for fermenting lagers at higher-than-usual temperatures and suppressing esters. It also creates denser, more mousse-like foam. The differences are really night and day. I now ferment my lagers around 25 PSI at 50-55F, but Rabe takes his as high as 40 PSI at the same temps. Yes, that sounds crazy high, but it really works (and no, it doesn’t hurt the yeast, as long as you have enough of them).
Foam isn’t only important for lagers, but it’s a quintessential part of the “lager package,” which is why I’m mentioning it here. That said, I’m now step mashing all of my beers because I can’t get enough of that foam.
Fermenting under pressure also gets you some of those classic lager flavors. In addition to promoting great head, pressure fermentation at homebrew scale purifies yeast expression and, to a certain extent, mimics the effects of hydrostatic pressure that’s created in the huge, vertical tanks found at breweries like Bitburger, Weihenstephan, and others. As it turns out, this pressure is key to the uniquely lagery taste found in these highly refined examples of the style.
But you need fresh, high-quality (and region-appropriate) malt and hops, too. If you’re making continental beer, use continental malt. Preferably, use the malt used by the breweries you’re trying to mimic. German and Czech malts taste different from American malts. Terroir isn’t just for grapes.
I realize this comes across as somewhat hypocritical, given I’m using German (and American!) malt for a Czech beer. That said, German is much closer to Czech than American, and the C15 in this recipe is a very small percentage. (Listen, I was trying to use stuff I already had.)
As for hops, in a Czech pale lager there’s no replacement for Czech hops—I personally love Saaz, and it’s the classic Czech lager hop, so I used it here.
You need to pitch a ton of yeast. There’s no getting around this. Cold fermentation, especially under pressure, means you need a really healthy yeast pitch to get an adequately vigorous fermentation. You can’t just pitch a pack or two of dry and call it a day. Ideally, you’ll want to make a large starter and step it up at least once.
Rabe told me that if you start with a typical homebrew-sized pitch, you would need to brew four successive batches on the same yeast cake to get to the point where you have enough active yeast for a proper 12 Plato (1.048) pitch. I mean, holy shit.
He’s also not a fan of first-gen dry yeast, with a real hatred for the flavors that dry-pitched W-34/70 produces (he describes them as lemony). Successive generations don’t have this issue, and you can definitely make a starter with a pack of dry yeast to bypass the issue.
Oxygen mitigation is vital, especially on the cold side. It’s well known that oxygen is the enemy of beer. Limiting (and preferably eliminating) O2 exposure after the beer has fermented will preserve pale lager’s delicate flavors, improve its shelf life, and keep it looking pretty.
I do this by fermenting in a keg and using the pure CO2 produced by fermentation to purge a second, daisy-chained, pre-sanitized keg. A byproduct of fermenting under pressure is that I can also perform a closed-loop transfer from the fermentation keg to the serving keg via gravity, and the beer is already carbonated when it arrives in the serving keg.
If it’s over-carbed, which is usually the case, I can bleed off any excess pressure with a spunding valve. Less-pure canned CO2 is only used for dispensing.
How’d it go?
This one was actually just a bit of a shitshow, but mostly because I’ve been learning a new brewing system. After 100+ brews on my Robobrew (updated with the Brewzilla 3.1.1 control board), I recently made the jump to the new Brewzilla 4. Overall I really like the machine, but I’ve certainly had my fair share of issues. But before we get to that, let’s talk a bit about the recipe.
Allegedly, Czech pilsners in the style of Urquell are made with all Moravian pilsner malt. According to Rabe’s sources in Prague, though, that’s not true. As a result of upgrades to the brewhouse as production has modernized and expanded, Urquell now uses a small amount of caramel malt in the grist. What kind of caramel malt I don’t know, but having tasted PU several times recently, I’m convinced it’s quite light, hence my choice of C15 for this batch. And while Urquell absolutely is triple-decocted, my system isn’t conducive to that, so I opted to add 10% Munich malt to the grist to boost the malt profile.
(For his part, Rabe—a decoction skeptic—has been doing his due diligence on the topic lately and is of the opinion that while it does something, it’s a subtle effect and can largely if not entirely be recreated with careful malt selection. Final conclusions TBD, though.)
Moving along, another new thing I tried on this batch is grain conditioning, aka lightly moistening the grain before milling it. Here’s the skinny: Get a spray bottle and add 2% of the weight of the grist in water, then mist your grain, ensuring it’s evenly coated. Let it sit for 10 to 15 minutes and then proceed to milling. The idea here is that a softened husk will mill more evenly, produce less dust, and lead to a more easily lautered mash. In my experience, it went pretty well.
Now, to the issues. The Brewzilla 4 has a PID heating algorithm which works pretty well. However, in several batches made on the system so far, the reported mash temps have been much higher than actual, despite the system being properly calibrated. Like, as much as 15 degrees higher than actual. As you can imagine, that can really mess up your conversion.
In this particular batch, I had planned a short, 20-minute beta rest (148F) on Rabe’s advice, in order to get a slightly higher than normal FG. (Urquell has some residual sweetness to it, which I was trying to mimic.) The goal was to get about 80% of the conversion in beta—you can easily figure this out by multiplying your target pre-boil (in a no-sparge batch) or your target first runnings (in a sparged batch) by 0.8—then move quickly to the longer alpha rest (163F).
Unfortunately, at 20 minutes into the mash, my refractometer showed me I was nowhere near 80% of my target. And yep, you guessed it: the mash temp was sitting at about 136F, a far cry from the 148 on the display. Unfortunately, it took me about 45 minutes to figure this out. But after bumping it to 148 actual, it got to my target pretty quickly.
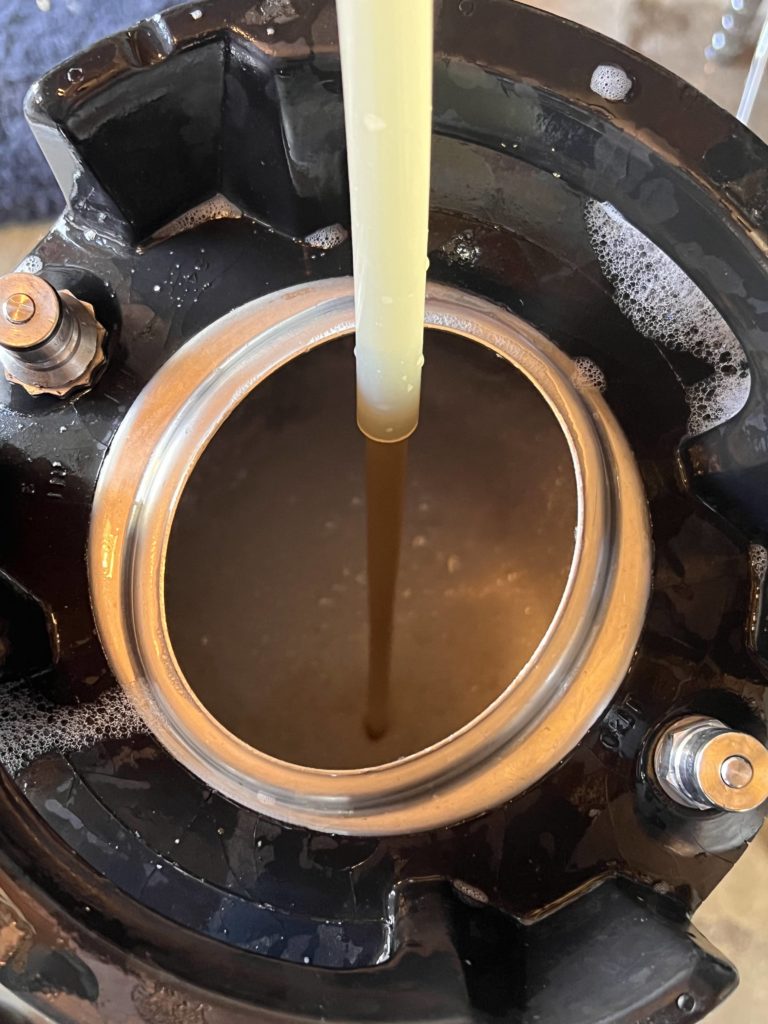
I also had issues with sparging and a stuck mash, but managed to resolve those fairly quickly. Just newbie stuff for a guy who’s been BIAB for ages. (Yes, I’ve since incorporated rice hulls into my grist.) And finally, after about two and a half hours of mashing and sparging, I’d hit my preboil.
The rest was straightforward, and thanks to Santa Fe’s ice-cold winter ground water, I was able to chill my wort all the way down to 50F. Into the fermentation keg it went with the Urkel starter.
Fermentation went smoothly, though it took a bit longer than I’d hoped at about two weeks to FG. Why? I’m fairly certain I under-pitched, and I also didn’t oxygenate (didn’t have the setup yet) or add yeast nutrient (just forgot). All three issues have been rectified in recent batches, and those fermented in half the time, even at a constant lower temp than I used for this batch.
How’s it taste (and how does it compare to real PU)?
About a month after this beer went into the serving keg, I finally found a fresh-ish shipment of Urquell on local shelves. (Until then, the freshest I’d seen anywhere in the western US was from 18 months prior.) I was thrilled to be able to do a side-by-side comparison:
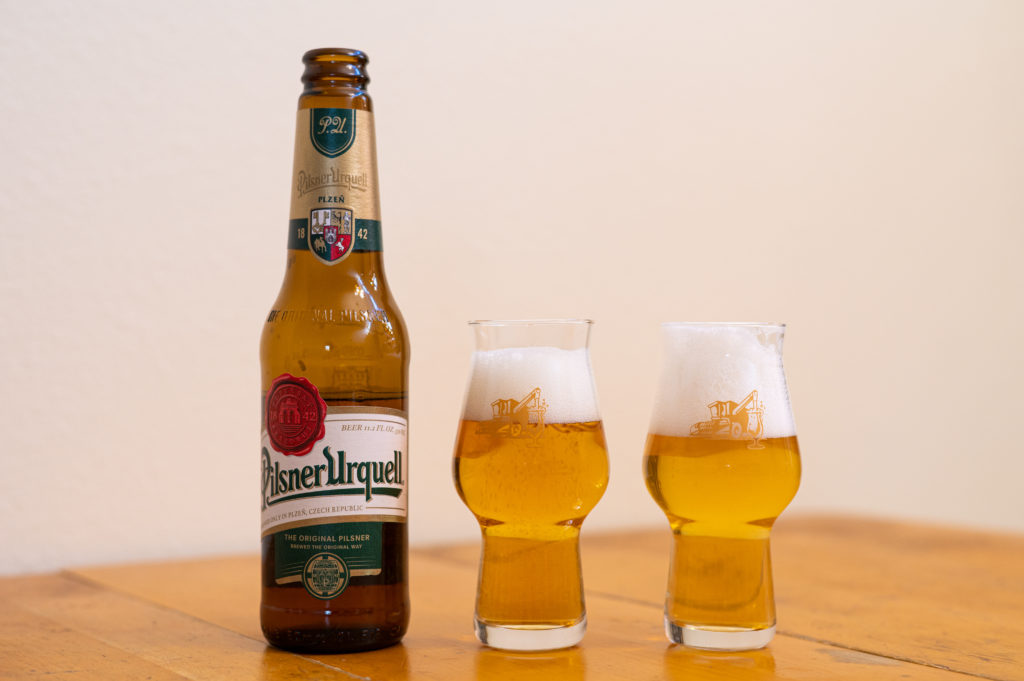
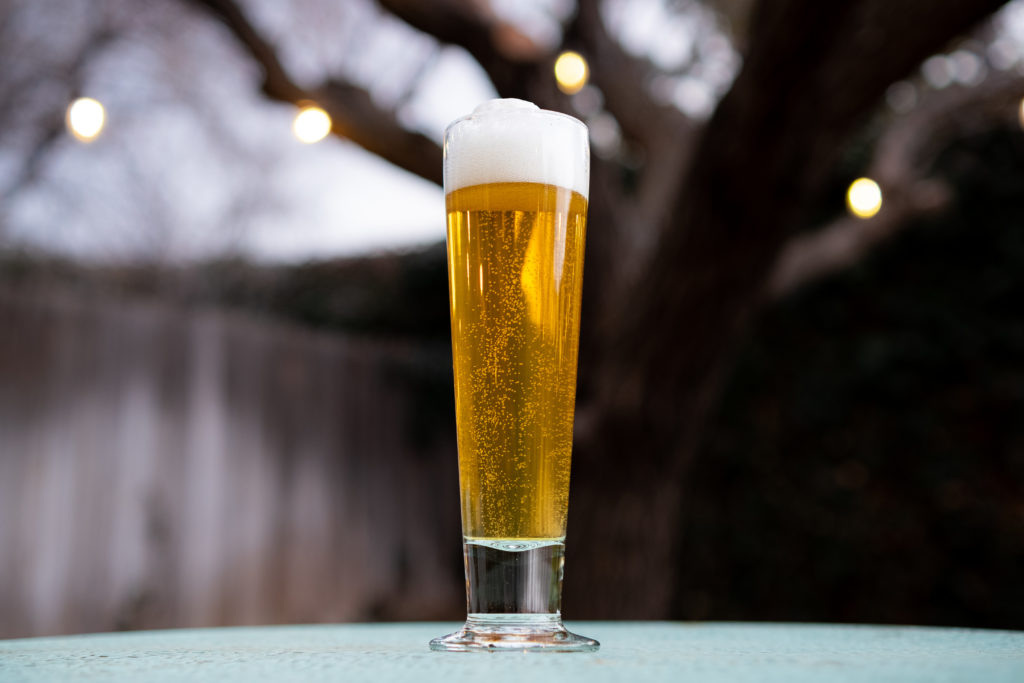
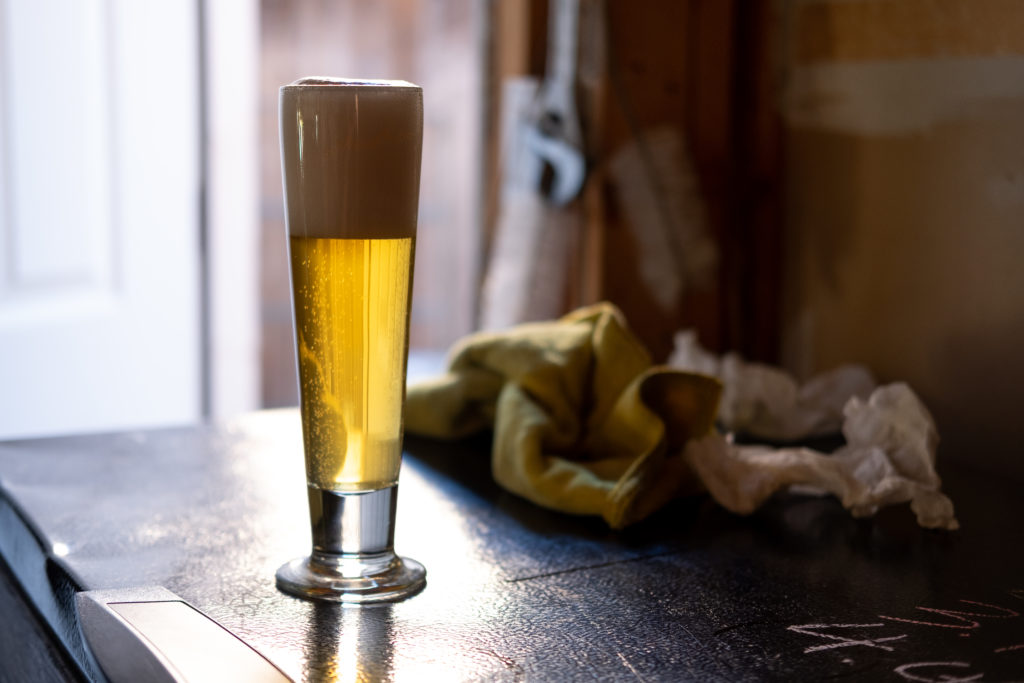
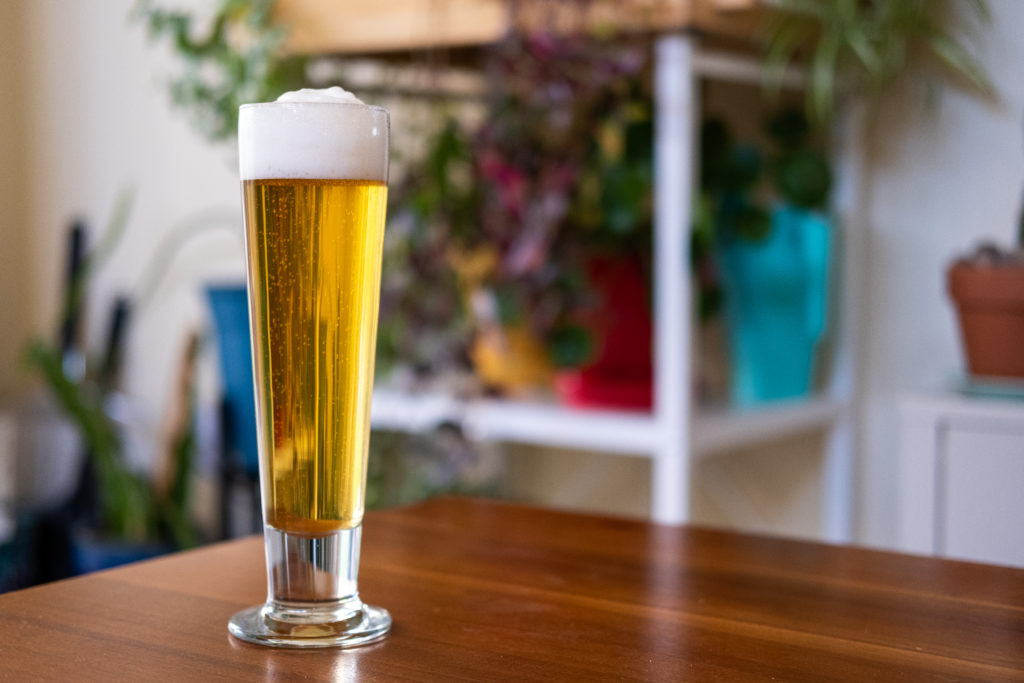
Appearance: The most notable thing about my beer’s appearance is the majestic, mousse-like head that sits atop the beer for a good 10 to 15 minutes after it’s poured, plus the lacing that chases it all the way down the glass. It’s really something to behold. Otherwise, well, it looks like a pale lager. A shade darker than blonde, but not deep gold. Side by side with PU, my beer is a shade ligher (might chalk that up to decoction) and the bubbles in the head are finer. The head lasts longer in mine, as well.
Aroma: I chose the Urquell strain because, well, I wanted to mimic Urquell—right down to its signature buttery aroma. And yep… there’s a light whiff of diacetyl right off the bat. The rest is all soft bready malt (white bread) and herbal/floral Saaz. Actual Urquell has perhaps a slightly hoppier aroma and less malty sweetness, but overall it’s quite similar to mine.
Flavor: This is where the two beers really start to diverge. The real Urquell has a minerality that mine lacks, and the hops that are apparent on the nose shine brighter here as well. It’s also more caramelly than mine, while at the same time being noticeably drier—I’m going to chalk this up to triple decoction more than malt choice. The caramel gives it a perceived sweetness, but without sacrificing any crispness. Both beers are very tasty, but real PU comes across as sharper and more refined, while mine is softer, rounder, and gentler.
Mouthfeel: Softness is the key word again here. My pils is soft and pillowy; the carb—a lot of which is knocked out in the pour as part of forming that lovely head—is lower, too. Real PU has pricklier carb (at least in this bottled format) with smaller bubbles and a less silky feel.
Overall, I’m extremely pleased with how close I got to Urquell. My beer isn’t a perfect clone, but compared to earlier lagers I’ve brewed, it’s much closer to the mark. It’s not PU, but most experienced beer geeks would immediately identify it as a Czech pale lager. Nice.
What would I change next time?
A few things, but nothing major. Decoction isn’t really feasible for me—or at least it’s not something I want to deal with—so it’s mostly down to ingredient tweaks.
First, I’d like to try actual Moravian pilsner malt. Second, I’d like to change the C15 for something similarly colored/flavored but of Continental origin. Maybe Weyermann CaraRed?
I’d also like to move the second Saaz addition to 15 or even 10 minutes from the end of the boil, to get a little more aroma into the finished product.
1 Comment